

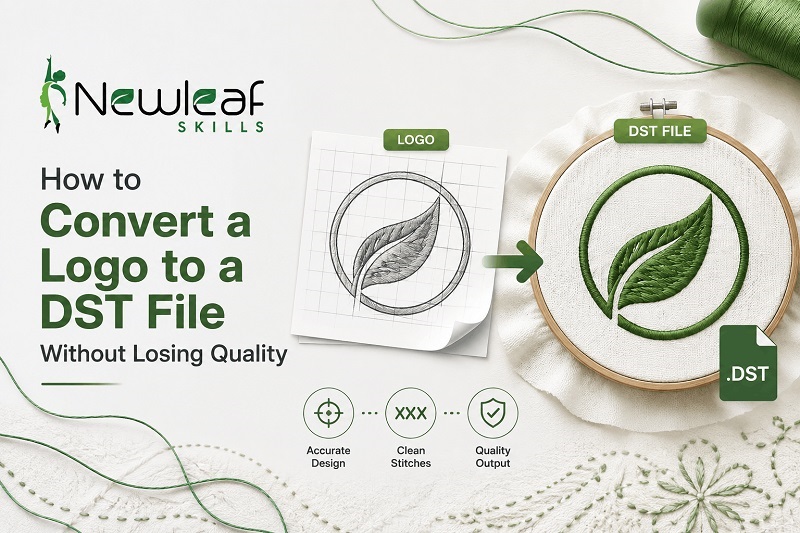
How to Convert a Logo to a DST File Without Losing Quality
If you’ve ever tried to get a logo embroidered and someone asked you for “the DST file,” you’ve probably wondered what that even means — and why you can’t just email over the JPEG you already have. This guide breaks down what a DST file actually is, why converting to it isn’t as simple as changing a file extension, and how to get it right the first time.
What Is a DST File, Exactly?
DST (short for Data Stitch Tajima) is the most widely used file format for commercial embroidery machines. Unlike a JPEG or PNG, which is just a grid of colored pixels, a DST file is a set of instructions — it tells the embroidery machine exactly where to move the needle, what type of stitch to use, when to change thread color, and when to trim and jump between sections.
That distinction matters because it explains why you can’t just “convert” a logo the way you’d convert a Word document to a PDF.
Why a Simple Converter Doesn’t Work
A regular image-to-DST converter can technically produce a file, but it usually can’t make good decisions about:
- Stitch type — satin stitches for thin lines and text, fill stitches for larger areas, running stitches for outlines
- Underlay — the foundation stitching that stops fabric from puckering or shifting
- Density — how tightly packed the stitches are, which changes based on fabric type
- Stitch direction — which affects how light reflects off the thread and how durable the embroidery is
- Pull compensation — adjusting stitch width to account for fabric stretching during sewing
Skip these decisions, or let software guess at them, and you get the classic signs of a badly digitized file: puckered fabric, gaps in coverage, thread breaks, or a logo that looks nothing like the clean image you started with.
The Right Way to Convert a Logo to DST
1. Start with a clean, high-resolution image. Blurry logos, tiny text, or gradient-heavy designs are much harder to digitize well. If you have a vector version (AI, EPS, SVG), use that instead of a JPEG or PNG whenever possible.
2. Simplify where needed. Embroidery can’t reproduce every detail a printed logo can. Fine gradients, thin overlapping lines, and small text under a certain size often need to be adjusted before digitizing, or they won’t stitch clearly.
3. Digitize — don’t just convert. This is the step most people skip. A digitizer manually maps out stitch types, paths, and density based on the design and the fabric it’s going on. This is what separates a usable DST file from one that jams the machine or looks messy on fabric.
4. Check the details before finalizing. Fabric type, garment placement, and finished size all affect how a design should be digitized. A logo digitized for a large jacket back needs different settings than the same logo shrunk down for a left-chest placement.
5. Test stitch before a full production run. A stitch-out sample on the actual fabric catches problems — like thread breaks or puckering — before you commit to a bulk order.
When to Digitize It Yourself vs. Outsource It
If you’re a hobbyist working on a single design, free tools like Ink/Stitch can be a reasonable starting point. But for business use — team logos, uniforms, product branding — the cost of a bad file (wasted fabric, wasted thread, a client who doesn’t reorder) usually outweighs whatever time a DIY conversion saves.
This is where Custom logo digitizing services come in. Rather than guessing at underlay and density settings, an experienced digitizer builds the file correctly the first time, based on your fabric and how the design will actually be used.
How New Leaf Skills Handles This
At New Leaf Skills, every logo we digitize goes through manual review — not just an automated first pass. With 22+ years of experience, we set underlay, density, and stitch direction specifically for your fabric and design, and deliver your file in DST or any other format your machine needs (PES, EXP, JEF, VP3, and more). Free revisions are included until it stitches out exactly right.
Frequently Asked Questions
Can I convert a JPEG straight to DST myself?
Ans : Technically, yes, with the right software — but the result usually needs manual correction to stitch out cleanly. Auto-conversion handles the easy part; the technical details still need a trained eye.
Why does my embroidered logo look different from the original image?
Ans : Embroidery has physical limits that printing doesn’t — thin lines, tiny text, and gradients often need to be simplified so the design stitches clearly.
What other formats can you deliver besides DST?
Ans : We support all major machine formats, including PES, EXP, JEF, and VP3.
Get Your Logo Digitized the Right Way
Skip the trial and error. Contact New Leaf Skills for a free quote on professional logo digitizing.